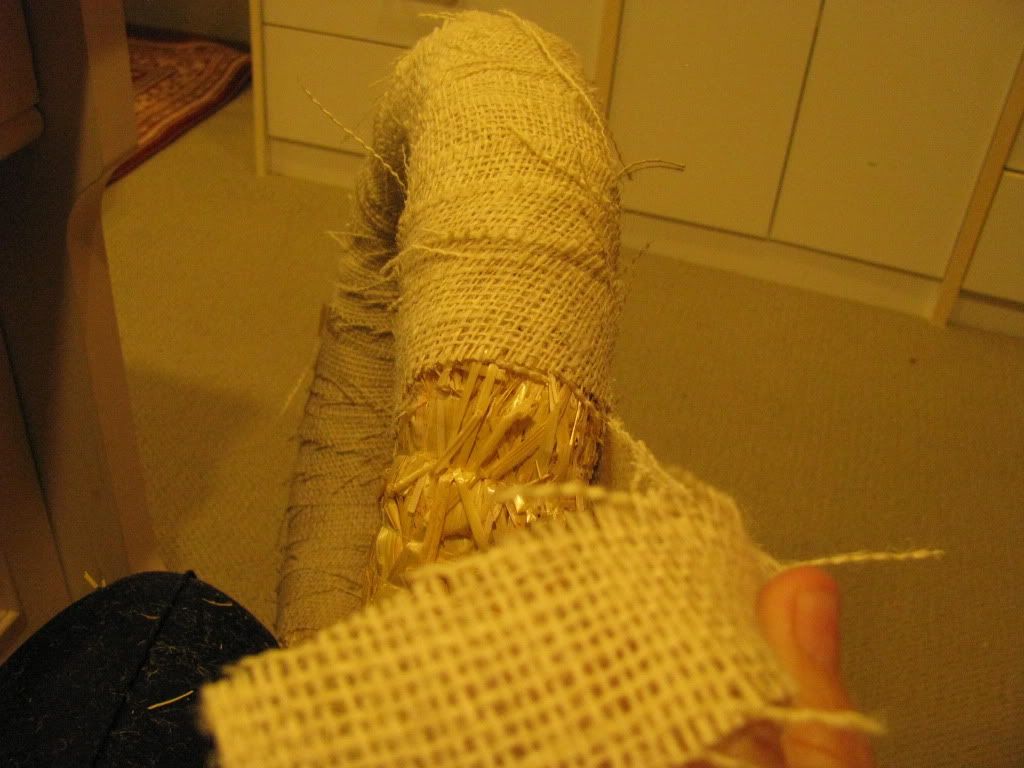
Burlap is super cheap. I bought 2 yrds (I have another burlap project coming up) and only spent $4. For my purposes, I used just a yard and had some left over so you could probably go with 3/4 yard. Cut the burlap into 1-1/2" strips. I used my rotary cutter which cuts burlap like butter. No need to be precise or Miss Perfect here.
I wrapped the strips around a 12" straw wreath form using hot glue to secure the ends until the form was covered. Honestly, I love it bare in all its raggedness. The threads speak to me.

Next the felt flowers, so many Pinterest tutorials which one to choose? I decided to do just a couple flower varieties so I liked this simple tutorial. I bought 4 colors felt (.99 each) for flowers plus a green for leaves.
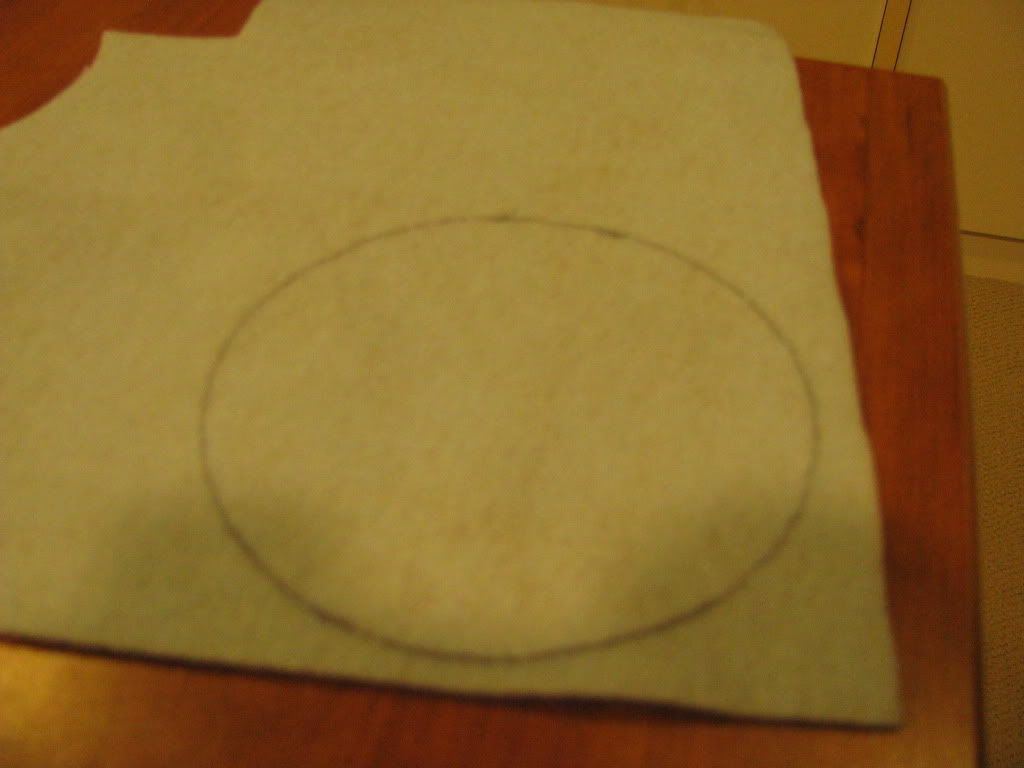
Use something to trace circles on the felt. I used a 4-1/2" vase. Tip- use a pen close to the color of felt, the marks do show a little if you don't cut inside the drawn circle. (I traced this darker so it would show up in the photo.)
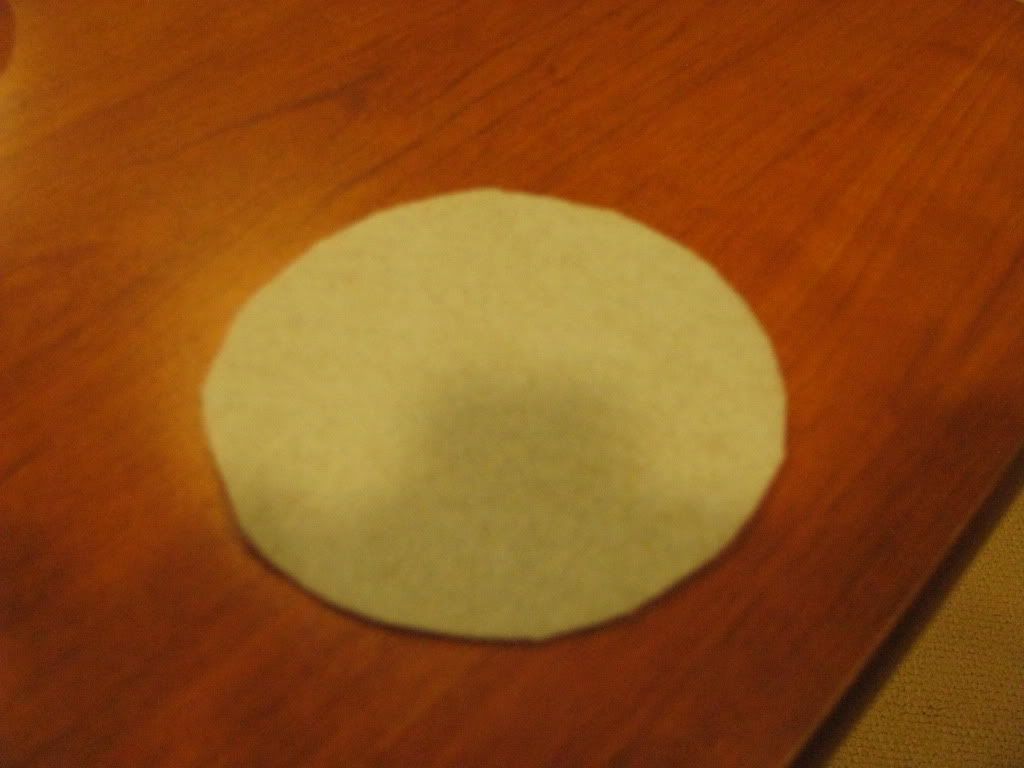
After you've cut your circle, start cutting spirals into your circle until you get to the center. Don't worry about how many spirals or making them perfect. That's not what this craft is about (thank goodness for me).

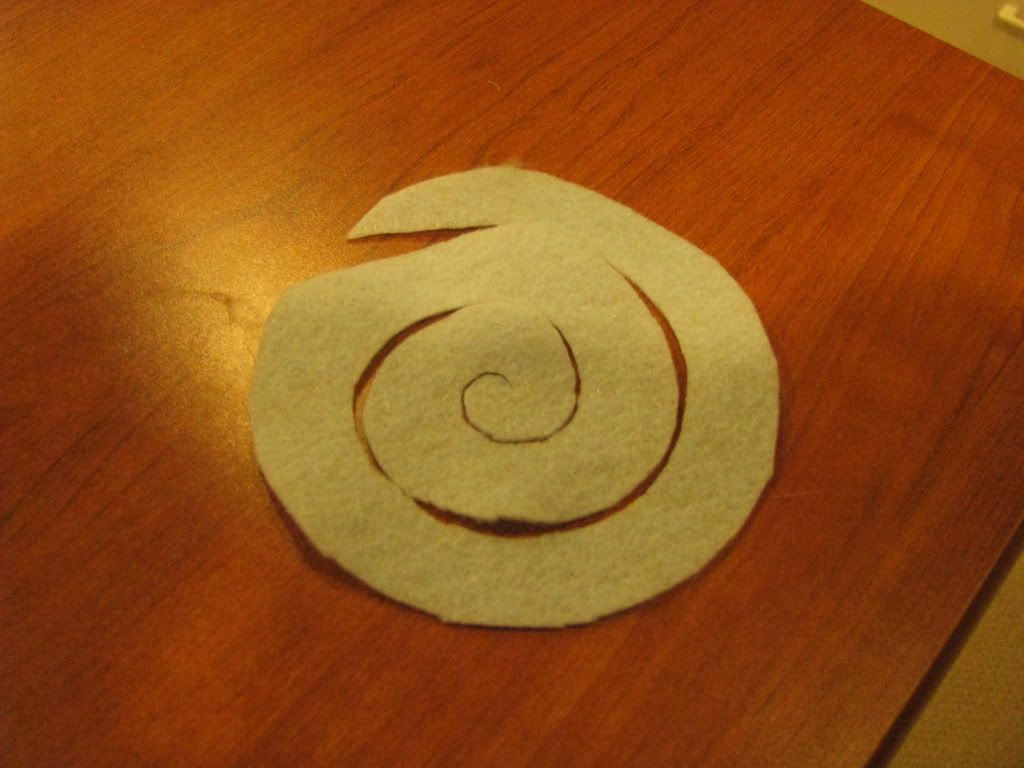
Depending on whether you start rolling the flower from the outside end or the inside end, determines whether you'll get the rosebud or open face-type flowers. I did some of both. On a couple of the open-face style flowers, I added a contrasting circle (about 1/2") to the inner circle to add dimension. Add it with a dot of hot glue to the spiral before you roll it. (yes, that's me glueing by my laptop. I am sooo asking for trouble aren't I?)
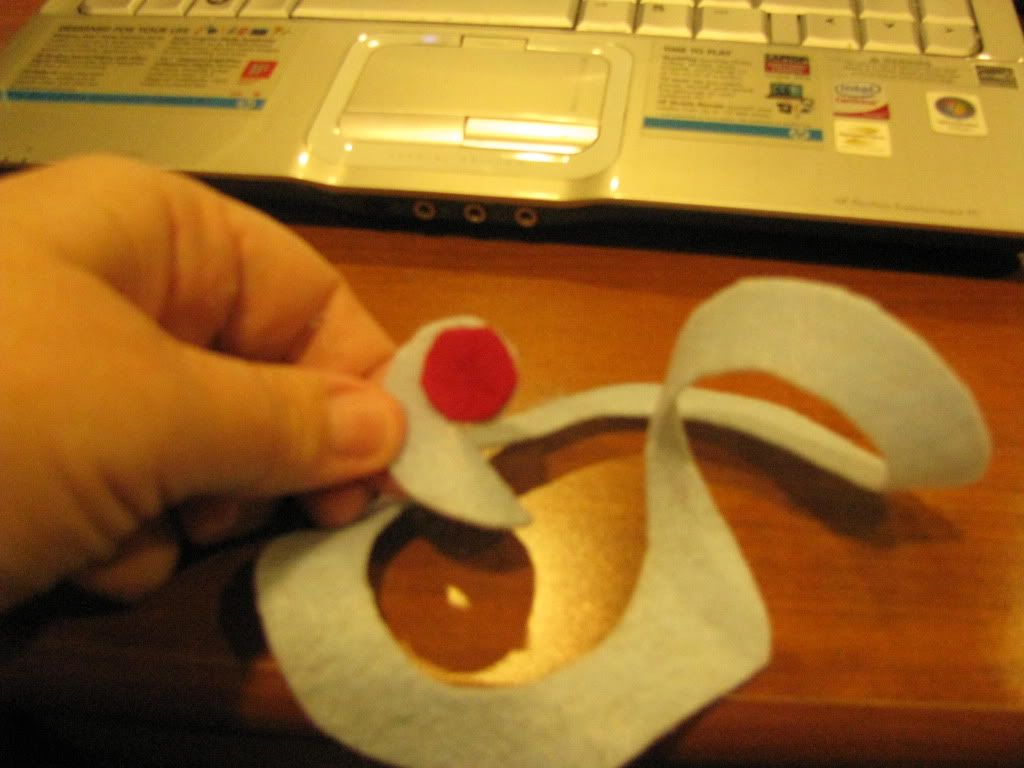
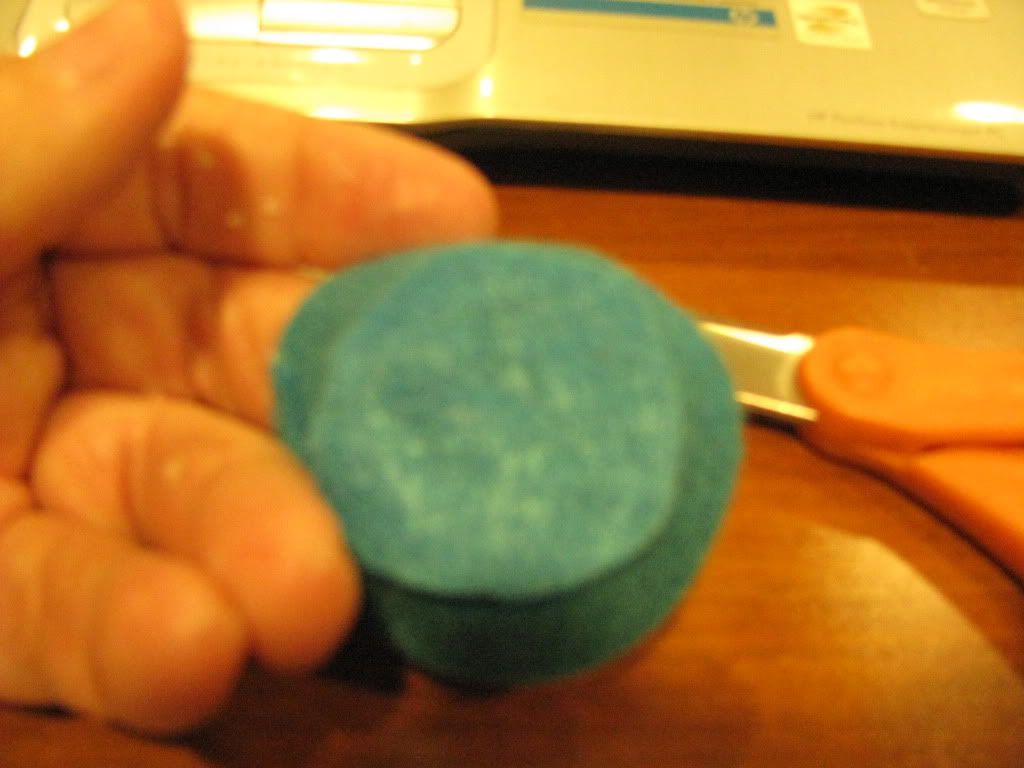
Because I wanted to pin on my flowers and not glue them to the wreath so I could swap out the flowers later, I also cut base circles (about 2" depending on your flower) in the same color as the flower but slightly larger than the flower itself. Lightly hot glue each flower to the base circle, pressing the extra up towards the flower but don't glue there.
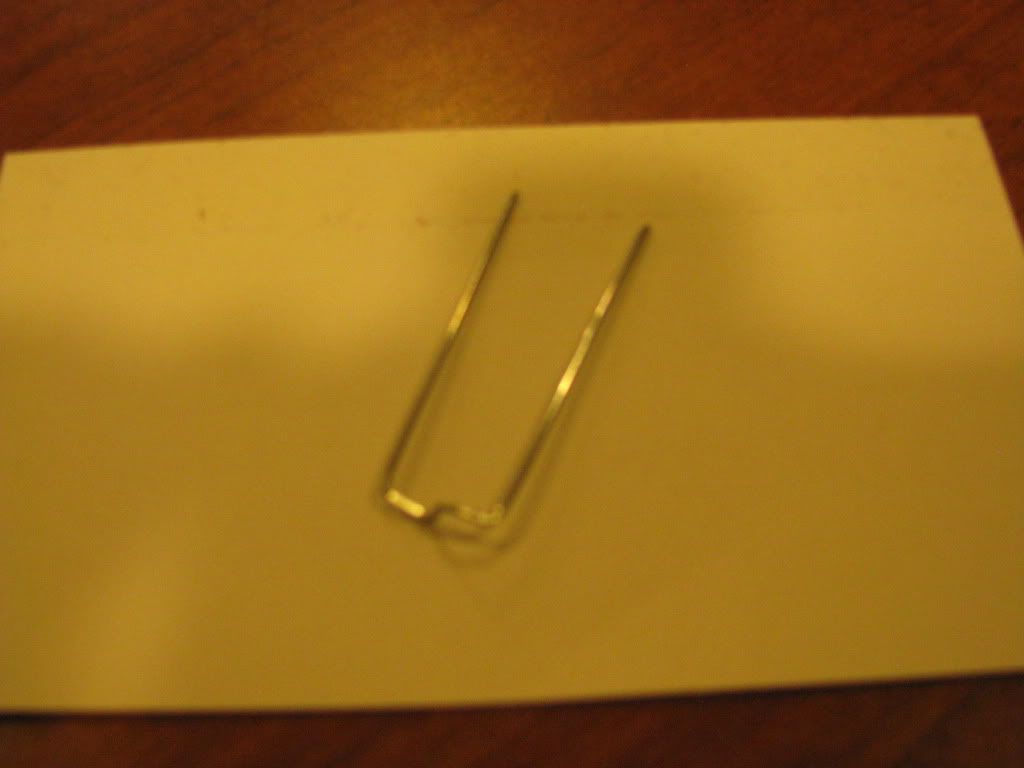
Cut several leaves if you want them. Lay the flowers and leaves on wreath until design pleases you. I used florist pins to pin the flowers/leaves to the wreath form. Wriggle the pins between the outer flower petal and the extra overhang of the base circle and then push into wreath form. Continue until all flowers are attached. Pin leaves to fill in space.
I bought a couple Christmas picks for .79 and cut the berries off the stem. Hot glue a berry into each open flower center, hiding where you cut it from its stem.

Loop 1 yard ribbon through wreath and tie in a bow at the top.
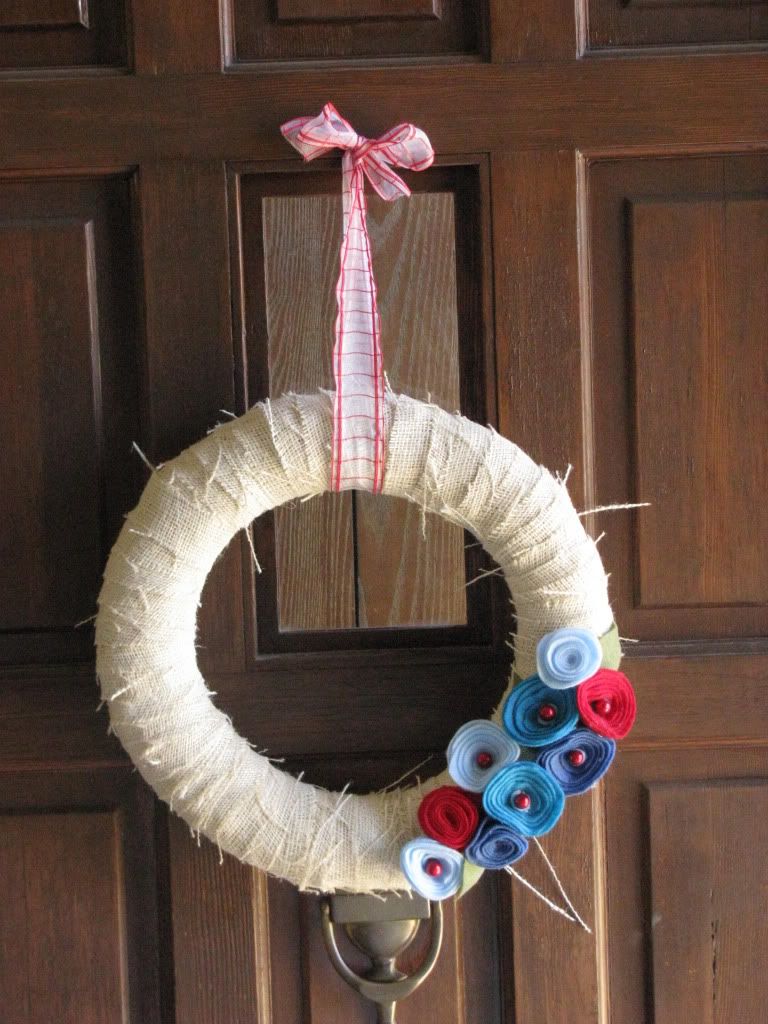
This adorable wreath went to one of my all-time favorite people, my mother-in-law. She's in a nursing facility and needs all the color she can get on her door. I love this wreath but it doesn't hold a candle to her! She'll give the wreath back after Christmas and I'll do it again in different colors and flowers. Already dreaming of new ones...
Ps. Sorry for the dark project photos. This was my second project of the day and I'd already lost my daylight.

2 comments:
Pinning the flowers on is a great idea. I've been tossing wreath ideas around in my head and never even thought of making them interchangeable.
Your wreath is so pretty! I love working with burlap and felt!
Post a Comment